Learn how to 3D print car parts in this guide covering materials, applications, design tips, and realistic expectations for auto enthusiasts and DIY mechanics.
You’ve probably heard the buzz about 3D printing car parts, and you’re wondering if it’s actually practical or just another tech fad. Well, it’s true: 3D printing technology has matured into something genuinely useful in the garage. Whether you’re restoring a classic ride or modifying your daily driver, you might be able to produce the parts you need at home. In this quick guide to 3D printing car parts, we’ll help you understand what’s actually possible and what materials work best.
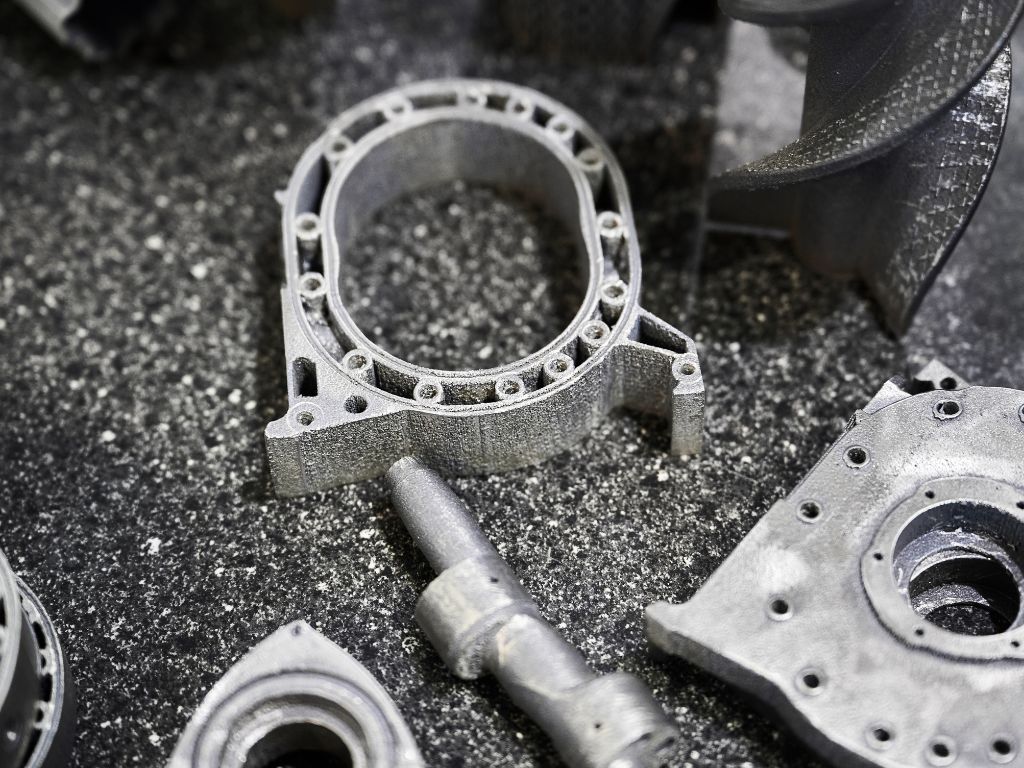
What You Can Actually Print
You can 3D print many parts, so long as they experience low to moderate temperatures and stress (under 200°F and noncritical structural loads). Some examples include dashboard trim pieces, custom knobs, air duct adapters, and mounting brackets. Intake manifold prototypes, turbo inlet pipes, and even functional intercooler end tanks are also within reach if you use carbon fiber 3D printing for manufacturing these components.
Material Selection Matters
If you’re 3D printing car parts, you have to use some tough filament to ensure reliable performance. Consider these options:
- PETG: Heat resistance up to 180°F, good impact strength, perfect starter material
- ABS: Classic choice, handles heat well, requires an enclosed printer
- Nylon: Superior strength and flexibility, excellent chemical resistance
- Carbon fiber composites: Maximum rigidity and temperature tolerance, premium option
- ASA: UV-stable outdoor performance, won’t fade or crack in sunlight
Design Considerations You Can’t Ignore
You probably shouldn’t attempt producing auto components if you’re a beginner at 3D printing. The process can be finicky and requires much attention to detail to make high-quality parts that will actually work. Here are some design considerations to keep in mind:
- Layer orientation determines strength. Print parts so the load runs parallel to layers, not perpendicular.
- Add generous fillets to corners and stress points.
- Wall thickness should hit at least 2–3mm for structural integrity.
- Design mounting bosses and heat-set threaded inserts rather than relying on screws cutting into plastic.
- Model with clearances in mind. A tight-fitting part on your computer screen might not work when thermal expansion enters the picture under the hood.
The Reality Check
In the end, 3D printing won’t replace your mechanic or machine shop. Suspension components, brake system parts, anything load-bearing in your drivetrain, and anything that gets hot are best left to OEM or certified machinists.
Also, don’t expect your prints to come out great on the first try. You’ll spend time dialing in settings, dealing with failed prints, and learning which battles to pick. But if you match the right material and design to each appropriate application and endure the trial and error, you can end up with some custom parts at an extremely affordable cost.
Comments are closed.